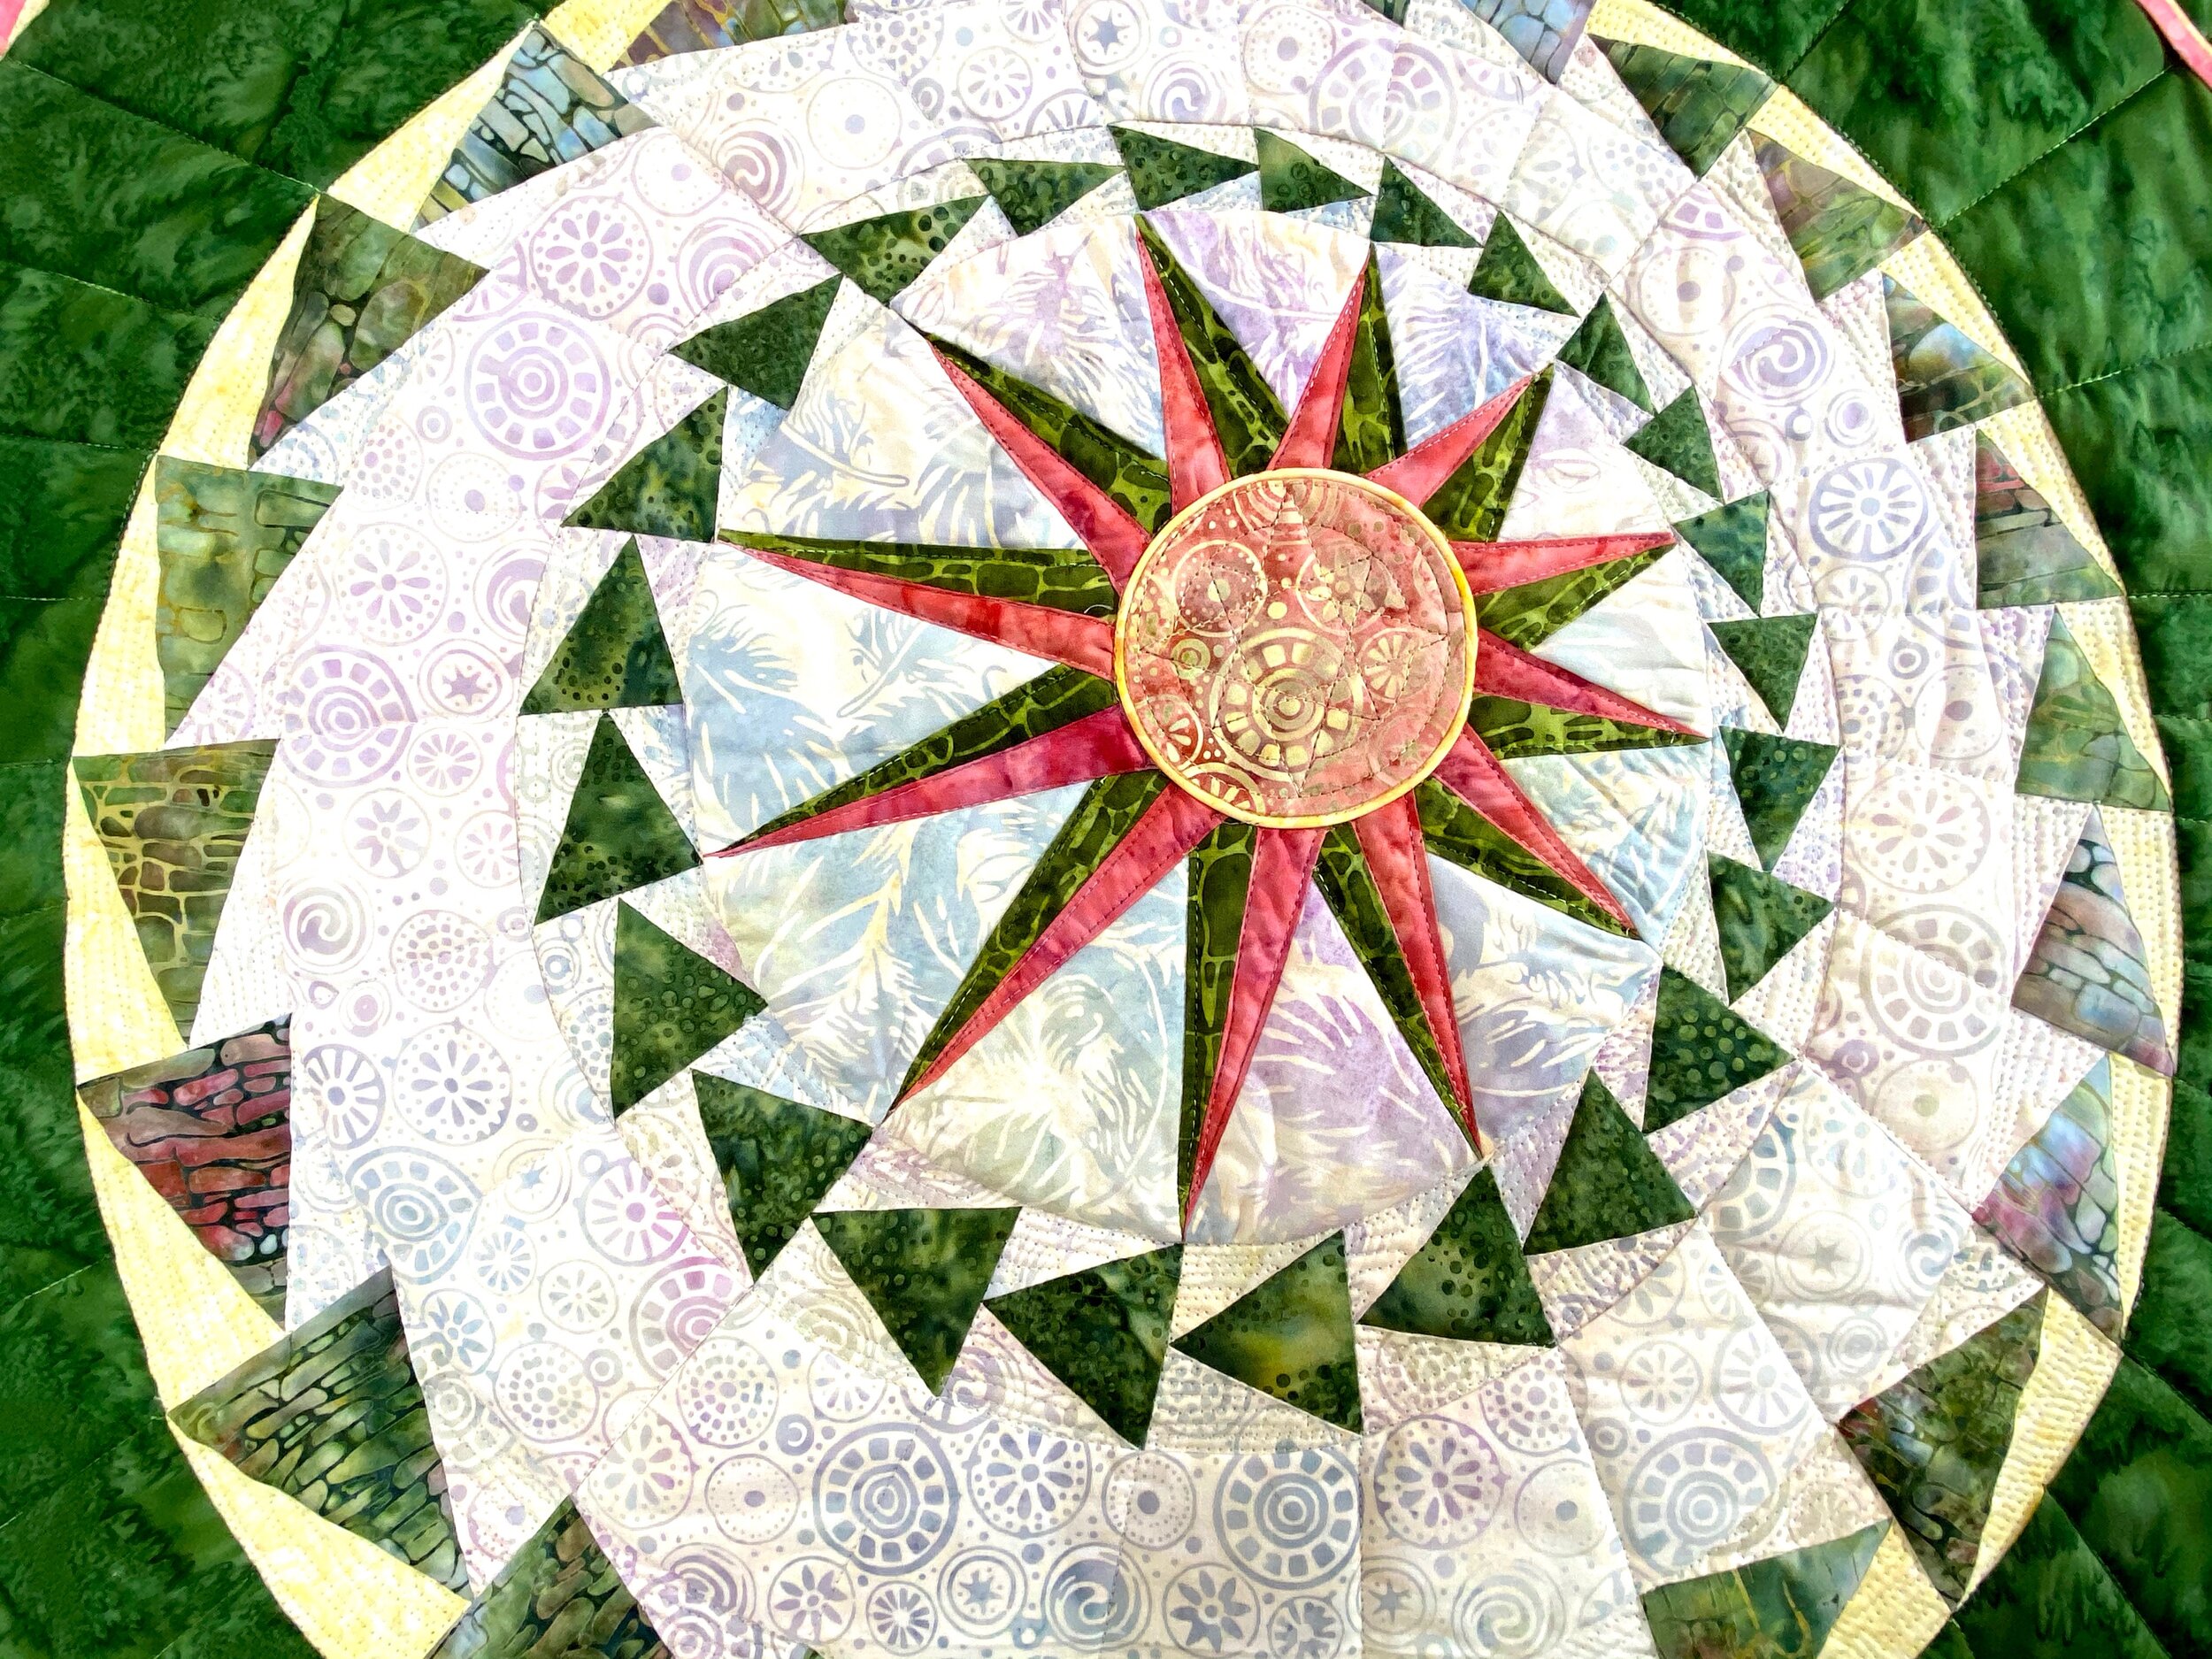
Medallion Quilt for Island Batik
In January 2020 when the monthly Island Batik Ambassadors challenge list arrived, research was necessary. I soon learned a medallion quilt is all about a center block and borders. The center medallion block can be anything, appliqué, paper pieced, traditionally pieced, improv or anything you can imagine. Listening to a different drummer as usual, an idea formed for an asymmetrical quilt.
Island Batik along with their industry partners, Hobbs Batting, Schmetz Needles and Aurifil Thread provided the batik fabric, batting, sewing machine needles and thread used in this project as my role as an Island Batik Ambassador.
There was lots of planning and pattern drafting to begin this project. A.) Doodles, sketches, crayons and rulers help form an idea. B.) Working on 36” x 36” paper with rulers, pencils, pan lids, plates and yes…even a garbage can lid. C.) Getting movement in center star. D.) Rough pattern drafted with the beginning notations on the order of construction.
Project continues with pattern construction and fabric selection. A.) Each pattern piece is traced on The Gypsy Quilter Appliqué Freezer paper. B.) Selected Island Batik Smooch fabric by Kathy Engle for this project. Now available at your local quilt shop. C.) First three fabrics selected for center medallion. D.) Separately tracing each pattern piece with the aid of my Cutterpillar Glow Ultra light table. Creative Grids Itty Bitty Eights ruler by Lisa Bongena was used to accurately add seam allowance.
Not yet to the WHAT WAS I THINKING STAGE. Maybe that’s because I haven’t actually counted the pieces in this project. A.) Freezer paper piecing technique uses a fold and stitch method so there is no paper to remove. B.) One teeny tiny segment of the quilt completed with piles of sections left to stitch. C.) Progress…making progress. D.) Check each quarter section of circular blocks to insure the block will lay flat when completed. Edges should meet 90 degree lines exactly. Don’t you just love this Island Batik Smooch fabric by Kathy Engle?
Medallion quilts begin with a center block surrounded any number of borders. With the center block complete, it’s ready for the first border. A.) Completed center block. B.) Perforating freezer paper for accuracy folding in later steps. C.) Flying geese border taking shape. D.) Four sections of border paper pieced. E. First border complete. Each quarter will be stitched individually in later steps.
The center block and first border have 108 teeny tiny pieces. Time to move bit faster if this is going to be completed this month! A.) First of four pieces designed on freezer paper and ironed on fabric. B.) This border is zipping along. C.) Yippee Skippee! Border two completed in record time. D.) Border three has 72 pieces and uses three fabrics from Kathy Engle’s Island Batik Smooch line. E. Slow and steady wins the race. Only eighteen more pieces in this round
Today’s motto is, “We don’t grow when things are easy. We grow when we face challenges.” I’ve reached a time to grow on this project! A.) First challenge is to create a bigger circle. A foam board underneath with a push pin in a tape measure does the trick. B/C/D.) Sizing up pieces for next borders. With a fat quarter of each color, none of them fit. E.) Center block with three borders complete and a plan for the remainder!
Thank heavens for the yardage of Island Batik Basics in my stash from three years as an IBA. Grass is just perfect to complement the medallion. A.) Freezer paper patterns bonded to the save the day grass green batik. B.) Freezer paper pattern and IB Smooch fabric selected for more flying geese. C.) Trimming background pattern pieces. D.) Background placed. E.) Stitching more flying geese for the last border on my Bernina 770 new last month from CS Sewing in Traverse City.
Overthinking a project is my strong (weak?) suit and this one is no exception . A.) With the segmented border in place it feels disconnected. . B.) Auditioning points on flying geese for more movement. C.) New plan evolves to connect the border segments with 1/8 piping and a 1/4 bias tape. D.) Stitching teeny tiny yellow piping to background of Island Batik. E.) Applying bias tape created with Clover Bias Tape Maker over piping. F.) Final border in place.
All borders are in place. Before joining four quarters together…THIRTY NINE curved seams need to be stitched!
A quilt with 245 squares, rectangles and triangles would have gone together so much more quickly…but where’s the challenge in that? The Schmetz Microtex needles were a huge help. A.) The twelve seams in first segment are stitched and pressed. B.) Let’s hope all the points come out as well as this section. C.) Flying Geese are seamed to piping/bias section. D.) YIPPEE! Four sections ready to stitch. Does anyone else have their fingers crossed that this lays flat? E.) Savoring a few minutes of accomplishment while ponder what Island Batik Smooch fabric to use in the center
The last piece to complete the medallion quilt will fill the hole in the center A.) Island Batik Smooch in Moonstone Beads selected along with Karen Kay Buckley’s Perfect Circles for the template. B.) Teeny tiny, 1/16” piping is stitched around template. C.) Piping complete and template removed. D.) Bernina open toed foot used to stitch center circle in place E.) Medallion quilt is ready to quilt.
Since upgrading to a HandiQuilter Amara with Pro-Stitcher I’ve been using the computerized feature almost exclusively. Stepping out of my comfort box with this one! A.) Computerized star stitched in very center circle. B.) Attempted some ruler work and free motion. C.) Free motion pebbles on flying geese. D.) More ruler work and free motion. E.) Quilting completed. The Tuscany wool batting by Hobbs makes the quilting pop.
Completed medallion quilt, titled “Bright New Directions”, with Grass Island Batik binding and flat hanging sleeve on back. The wall or table quilt finished at 36” x 36” inches.


